
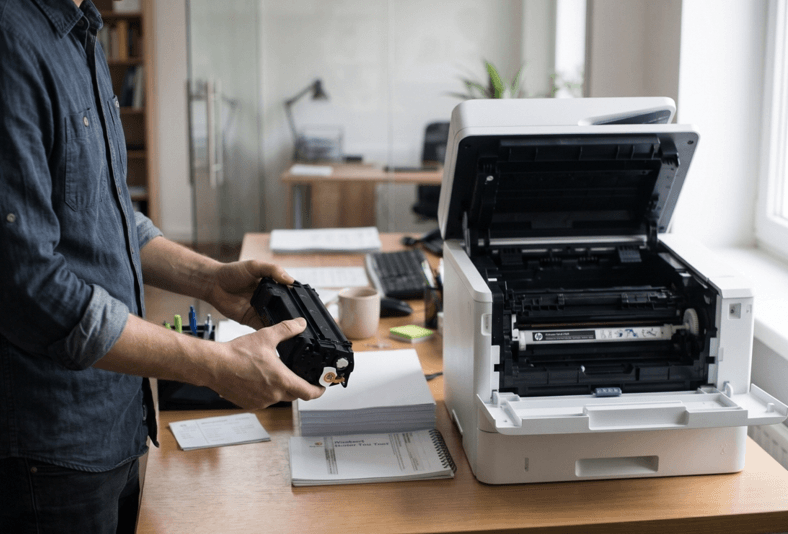
The “Toner Low” message has been on your screen for days. Now the pages are fading. It’s time to change the cartridge.
If you’ve never done it, it can feel a bit scary. Will it spill? Will you break something? Relax. It takes about five minutes, and you don’t need any tools. The only real trick is buying the right replacement HP LaserJet toner for your exact model. Once you have it, the rest is simple.
Before You Start
Get these things ready first:
- The new cartridge, still sealed in its box
- A sheet of paper or an old newspaper to work over
- A dry, lint-free cloth
- Your printer manual, if you have it
Also check the toner number. HP uses numbers like 85A or 05X. The number on the box should match the one in your manual or on your old cartridge. If it doesn’t, don’t open the box yet.
One more thing. If you’ve just been printing, wait ten minutes or so. The fuser inside the printer gets very hot.
Step 1: Switch Off and Open the Printer
Turn the printer off. Some people leave it on, and some models are fine with that. But switching off is the safer habit.
Then open the front or top cover. It depends on your model. You’ll see the old cartridge sitting inside. Layouts differ between LaserJets, so check your manual if you’re unsure where to open it.
Step 2: Take Out the Old Cartridge
Hold the cartridge by its handle. Pull it out gently and steadily. Keep it level so loose toner doesn’t spill.
Don’t touch the green or shiny drum surface, if you can see it. Fingerprints leave marks on your prints. And avoid leaving the cartridge in bright light for long.
Put the old cartridge on your sheet of paper for now.
Step 3: Unpack the New Cartridge
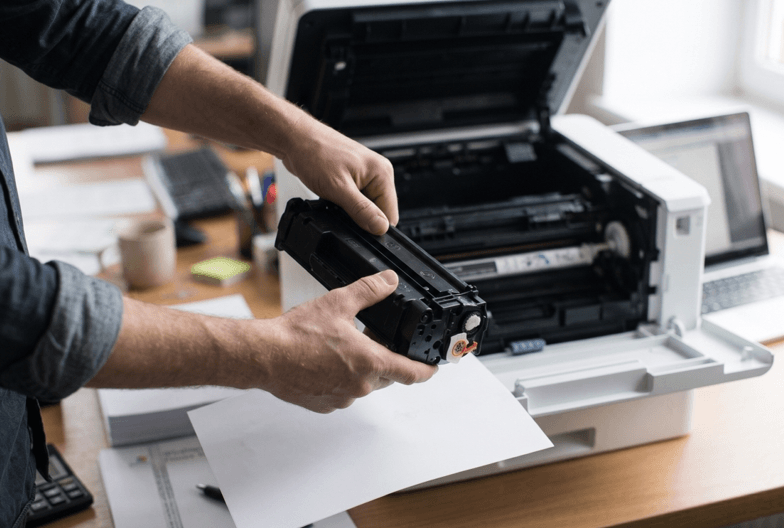
Take the new cartridge out of its bag. Rock it gently from side to side a few times. This spreads the toner evenly.
Now the important part. Remove every piece of tape, tab and plastic cover. Many cartridges have a pull strip or an orange tab. If you leave it on, your pages will come out blank. It’s one of the most common mistakes, and it’s easy to avoid. Take your time here.
Step 4: Slide It In
Line the cartridge up with the guides inside the printer. Slide it in slowly until it clicks or sits firmly. Don’t force it. If it won’t go in, pull it back out and check the alignment.
Then close the cover completely. A cover that’s only half shut can cause detection errors.
Step 5: Switch On and Test
Turn the printer on. Give it a minute to warm up and read the new cartridge. Then print a test page. Check that the text looks sharp and there are no lines or smudges.
If it looks good, you’re done.
What to Do With the Old Cartridge
Don’t throw it in the bin. Put it in the box the new one came in. Many suppliers and recycling programmes take used cartridges. Ask where you bought your toner, or check local recycling options in your area. It keeps waste down and keeps toner out of landfill.
What If You See an Error Afterwards?
It happens sometimes. You’ve done everything right, and the printer still complains. Try these quick checks:
- Take the cartridge out and put it back in until it clicks.
- Make sure all tape and covers are gone.
- Wipe the metal contacts gently with a dry cloth.
- Restart the printer.
- Confirm the toner number matches your model.
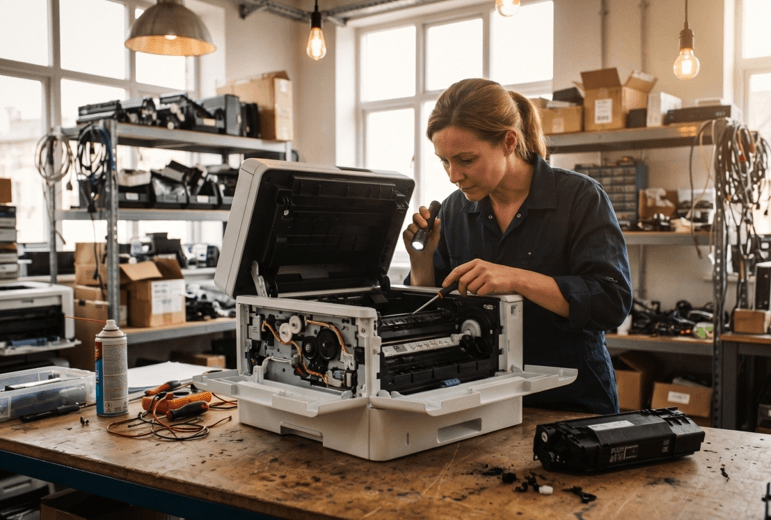
If the error stays even with a correct, brand-new cartridge, the problem may not be the toner at all. A faulty sensor or a worn part inside the machine can look just like a cartridge issue. A professional HP LaserJet repair in Dubai service can test the printer and find the real cause. That’s better than buying cartridge after cartridge.
Common Mistakes to Avoid
- Forgetting to remove the tape or seal
- Touching the drum surface
- Forcing the cartridge in
- Buying the wrong model number
- Shaking the cartridge too hard
- Working over a clean desk with no paper underneath
If you do spill toner, don’t blow it or wipe it with a wet cloth. Use a dry, lint-free cloth or a vacuum made for toner. Toner powder is very fine.
Tips to Make Changes Easier
- Order a spare when you first see “Toner Low”
- Keep spares sealed in a cool, dry place
- Write your toner number on a sticky note near the printer
- Handle the cartridge by its handle only
- Print a test page after every change
- Keep the inside of the printer dust-free
When Should You Get Extra Help?
Ask a technician if:
- The printer rejects every cartridge you try
- Pages stay faded or streaky after a new cartridge
- You hear grinding or clicking
- You smell something burning
- The printer shuts down or shows errors that won’t clear
Please don’t take the printer apart yourself. The fuser inside gets very hot, and small parts break easily.
Final Thoughts
Replacing a toner cartridge is easier than it looks. Switch off, take out the old one, unpack the new one, slide it in and print a test. The big things to remember are the toner number, the tape and the drum. Get those right and you’ll be done in minutes. And if an error sticks around, don’t keep guessing. Get the printer checked and get back to work.
